


Pressure is what allows us to brew coffee in seconds, rather than minutes – and produces the concentrated liquid gold shots that has come to define coffee around the world.
So, isn’t it a little strange that we just tend to set & forget the pump pressure on our espresso machines?
What if there’s a perfect pressure that we’ve been missing this whole time?
That’s exactly what we wanted to find out - Read on to see what we found
Understanding espresso brew pressure
Before we dive into the results, let me set things up with a quick note on pressure;
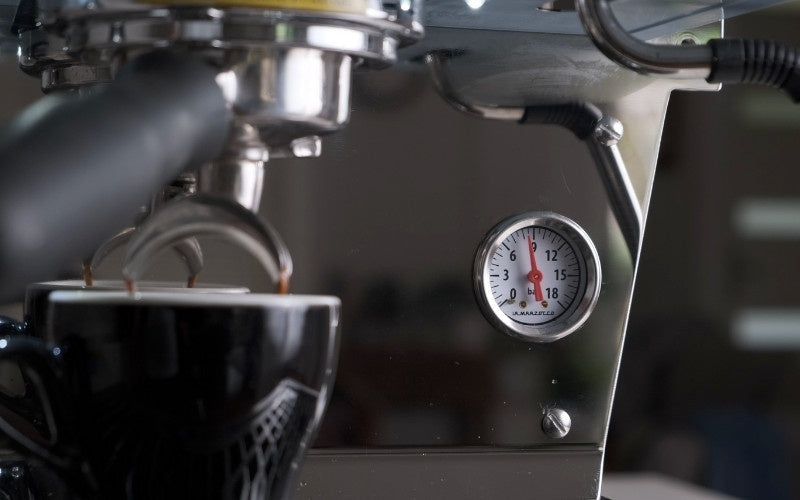
In most modern espresso machines, an electric pump forces water through the ground coffee at a set pressure. The pressure dial on most machines measures this in bars of pressure. At home, if you turn your tap on full, you’ll most likely be getting a pressure of 3-4 bars - so the pump is increasing the pressure by 2-3 times this level.
To put it another way, 9 Bars of pressure is like scuba diving down to a depth of 90m.... If you know what that feels like.
On older lever machines, this pressure is created by a lever, a spring & the massive biceps of the barista.
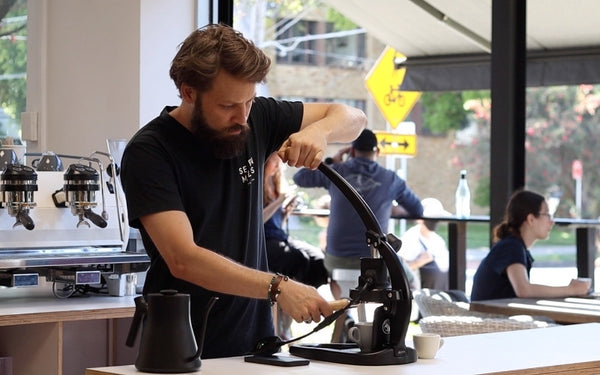
A lever machine is a simple example of what baristas sometimes call ‘pressure profiling’. Pressure profiling refers to the process of manipulating the pressure of the water throughout the shot. Unlike an electric pump, which maintains a constant pressure - with a lever machine, the pressure starts high and then gradually drops throughout the shot as the spring returns to its original position.
Another example is what we call pre-infusion. This is where the low line pressure of water runs for the first few seconds to allow the ground coffee to get wet before getting smashed by the full pressurised force of the water. The goal here is to prevent channels from occurring in the bed of coffee.
For these tests, we didn’t focus on pre-infusion, lever machines or any of the other ways in which pressure can be varied throughout the shot - no, we tried to keep things focused on our mission - of finding out if there is an ideal pressure to set your espresso machine…
With that out of the way, here’s the tests our engineers cooked up!
What we tested
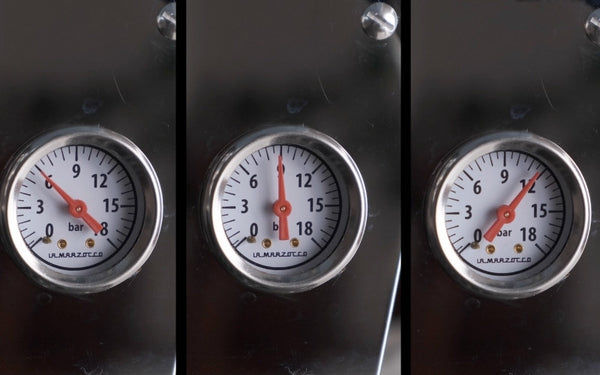
We measured espresso shots brewed at 6 bars, 9 bars & 12 bars of pressure, using 14g, 17g & 21g of ground coffee.
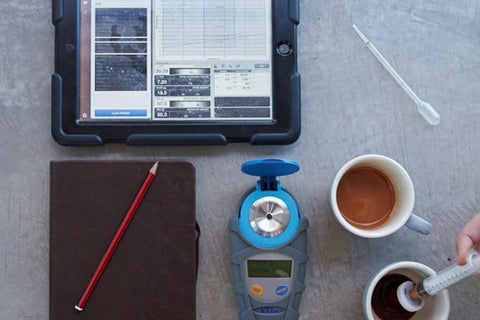
We then measured the extraction time - that is how long the espresso took to brew, we measured the TDS or total dissolved solids using a refractometer - this tells us the overall strength of the espresso. We also monitored the flow rate, using our shiny new flow telemetry system…oh yes, & we tasted the coffee too…you know, old school methods.
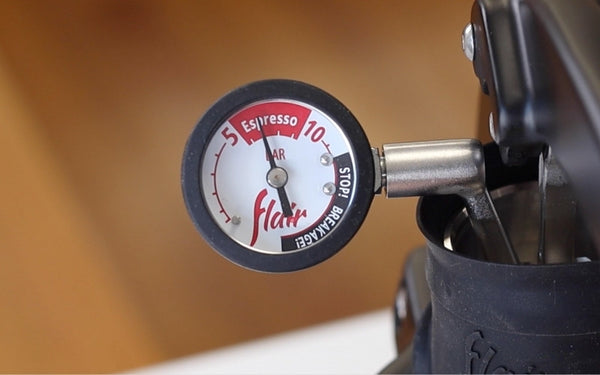
It’s worth noting that the pressure was measured using the dial on the machine - which in our case was both the La Marzocco Linea PB & KB90. Pressure measured on the dial will be higher than the pressure at the group head- the pressure at the group head will also vary depending on the flow rate of the coffee. So, for us, we decided that the most practical way to measure pressure for our purposes is using the dial, as this is what most users will see day to day.
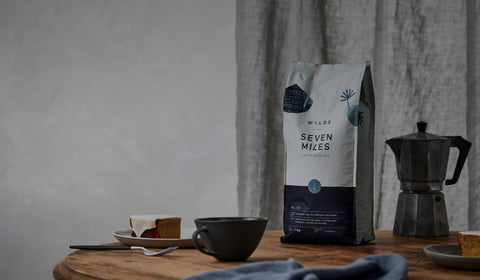
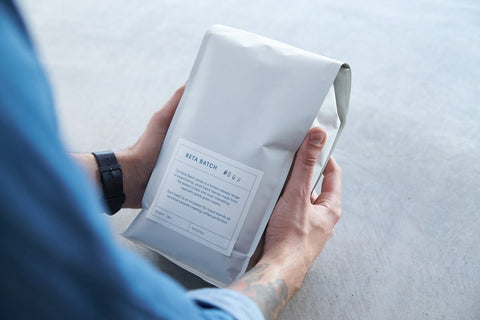
Finally, we used the same coffee for all these tests. It’s a light medium roast made up of natural process coffees, which we rested for a week after roasting… well except for one of the tests – but I’ll get to that in a moment...
The effect of pressure on extraction
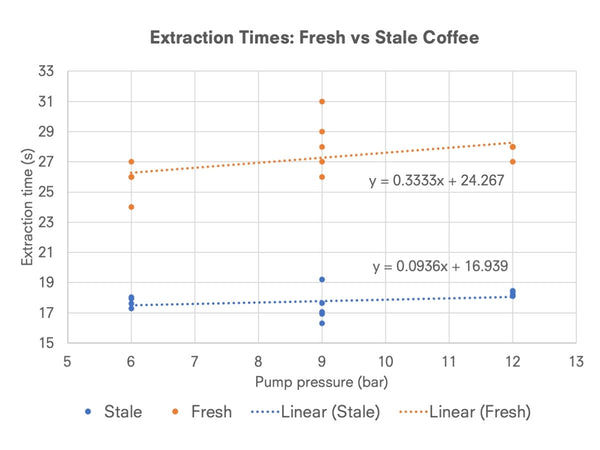
The first thing we found was that as pressure increased, the extraction times also increased.
In other words, the more pressure we used, the more slowly the shots poured.
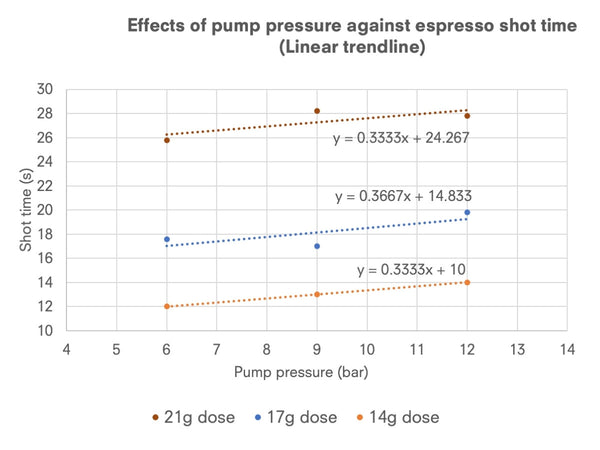
Logically, you would expect the opposite to happen - so what’s going on here?
Our guess was that the carbon dioxide gas produced by the fresh coffee was producing more and more resistance to the water as the pressure increased.
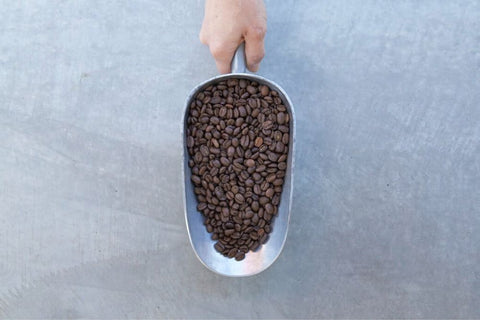
So, to test this theory, we tried the same experiment with the same blend of coffee - except this time, it was stale …. yum.
The reason we chose stale coffee was that as coffee gets older, the trapped gases slowly escape the roasted coffee beans - that’s why stale coffee produces less crema, and makes the shots just generally look bad…
Sure enough, with the stale coffee, we found that extractions behaved the way you would expect that is, more pressure means a faster flow rate. So, it seems likely that the ‘gas theory’ is the reason that higher pressures result in slower pour shots.
This also seems to be supported by looking at the rate of water flowing through the bed of ground coffee using the flow telemetry device. The flow device graphs the pulses from the machines flowmeter - which gives a visual guide to the flow rate of each espresso we made.
The shots brewed at 12 bars quickly saturated the bed of ground coffee, but then immediately dropped down to a slower flow rate than the lower pressure shots. This indicates that this resistance is occurring early in the process.
The next thing we found was that the TDS (the strength of the espresso), had more to do with the extraction time than pressure.
When extraction times were low, so was the TDS - when extraction times were higher, so was the TDS - regardless of the pump pressure.
Now that’s not to say that pressure doesn’t have an impact. As we noted earlier, when used fresh coffee, increasing the pressure helped to increase the extraction time - which might be a good thing if you’re using a lighter roast coffee that’s harder to extract. On the other hand, lower pressures may be beneficial for darker roasted coffees which are more soluble, as this might help prevent over-extraction.
Of course, grinding finer will also cause the extraction times to increase - but the grind size will change not only the strength, but also the overall balance of flavour extracted from the coffee.
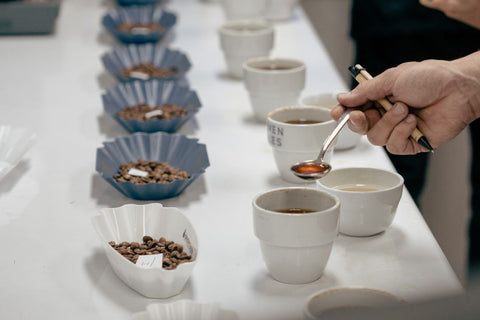
Speaking of flavour, let’s get to the point - which one tasted best!
Which pressure produced the best tasting espresso?
We started by with our standard brew recipe for this coffee, with the pump set to 9 bars of pressure - and used that as our benchmark.
We then kept everything else the same and reduced the pressure of the machine to 6 bars.
At 6 bars, the results weren’t great - our tasters described these shots as watery & thinner in texture compared to 9 bars. Of course, as we already discovered, lowering the pressure also made the shots run quicker - so we tried a few adjustments to compensate for this.
We tried grinding finer, then we tried increasing the dose, then we tried a combination of both - the end result was they all come up short in flavour & texture compared to the shots brewed at 9 bar.
We tried the same process again at 12 bars of pressure. This time our results were mixed. Some tasters preferred the thicker texture & bigger flavours of these shots, some felt that they were starting to taste over extracted and preferred the balance at 9 bars.
None of us had regularly made espresso at higher pressures in a cafe setting - so we thought we would push this a little further. The manager of our espresso bar, Will, agreed to run his machine at 12 bars for a day to see what impact this had on a variety of different coffees & get some feedback from a broader mix of people.
The feedback from both baristas & customers was less enthusiastic - baristas told us that they struggled to get the coffees tasting right…& customers noted that the coffee tasted different in milk.
The end results of all this is - we’re sticking with 9 bars.
There are two reasons that 9 bars of pressure seemed to be the sweet spot for coffee extraction. Our experiments indicate that the forces between the pressure of water and the resistance of the puck were balanced at 9 bars. In all experiments bar one, the flow rate over the coffee was minimised, which means the water has a chance to dissolve more flavour from the coffee.
Of course, it could also simply be the result of designing our espresso blends for extraction pressure of 9 bars, so they end up being optimised for this pressure. A bit like a self-fulfilling prophesy.
For the home or pro barista, our suggestion is this: if your roaster recommends a specific brewing pressure for their coffee, then go for it - otherwise your best bet is probably 9 bars.
There’s more to be investigated on using lower pressures for darker roasts & using higher pressures for lighter roasts - perhaps there’s some wins there. But that will have to wait until next time.
How to adjust brew pressure on an espresso machine
You need to start by finding out what type of pump your machine has.
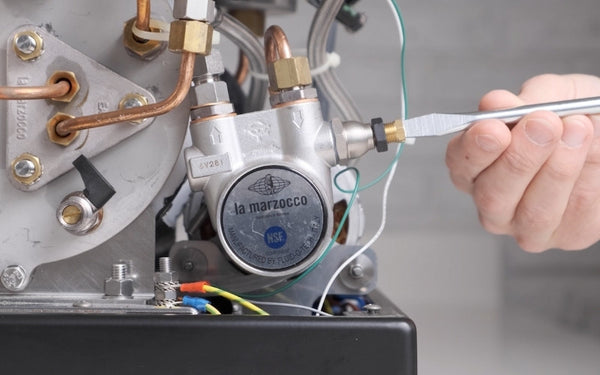
Commercial machines and some high-end home machines have a rotary pump. Rotary pumps are larger & quieter than the vibrating pumps found on many smaller home machines. If your machine has a rotary pump then the process is fairly simple.
Locate the pump and find the screw that controls pressure. Load up a fresh shot of espresso, hit go, and adjust this screw until the dial reaches the pressure you want.
For machines with a vibrating pump – which is usually found in more affordable brands like Breville, Delonghi & Gaggia - then the pressure is generally not adjustable without getting into some DIY hacks…
If you missed part 1 or 2 of this series – then take a look at previous posts where we look at answers to the most common questions baristas have about tamping or espresso distribution.